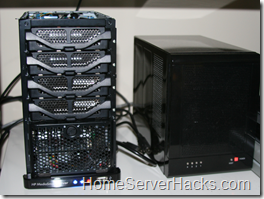
I love my HP EX470 MediaSmart Server. But after all of the cool new rigs I’ve seen (including those in the DIY Gallery), my little workhorse was starting to look a little, well… boring. In this article, I set out to spruce it up a big with fresh coat of paint. I’m partial to bright red sports cars so naturally that was my color of choice. I didn’t know how the small air vent holes in the grills would fare with a can of Krylon (would they just clog?), so I choose to leave the front and back grills black.
Warranty be damned, let’s get started!
- Power down the MediaSmart Server (duh) and unplug all of the cables.
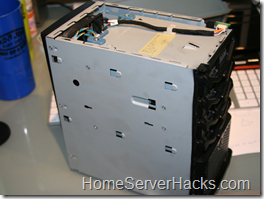
- Remove the top gray plastic piece by sliding it towards the back of the unit.
- Lay the unit of it’s side (on a towel to prevent scratching) and with your hand pressing down firmly, slide the side panel towards the back. This will take a little effort.
- Repeat the last step for the other side.
- Here are some pictures of my recently “naked” MediaSmart Server.


- Note that if you plan on using your server while you paint it (and let dry), do like I did and place something like a yellow pad on top to allow for proper air flow around the hard drives.
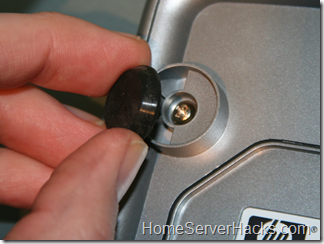
- Using a flat screw driver, gently pry up and them remove the 4 rubber feet. Set them safely aside (sticky side up) so we can reuse them later.

- Remove the 4 screws that were beneath the rubber feet.
- The bottom panel should now come off.
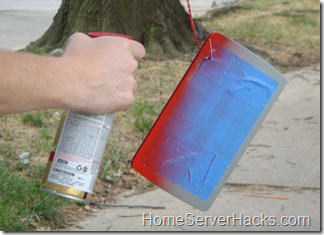
- Find a dust free area where you can spray paint and hose it down if possible (the water will reduce the dust). Wear a face mast if you are painting in an enclosed area like a garage.
- Using painter’s tape, mask off the under side of the bottom panel. It contains information like your WHS installation key.

- After all parts are dry (I waited 24 hours as the can specified), reverse the disassembly process.
- After assembly, the huge blue drive lights look a little out of place with a bright red case. Let’s take care of that as well. Remember the Easter Egg article that I wrote some time ago? Four Pulsing Red drive LEDs should compliment my new paint job just fine!

- Here is a photo of the finished product!


3 comments:
NICE!! That looks really good.
that is very cool... now only if I had a home server to paint. ;)
ex-470 NO POWER, does anyone knows how to replace the power supply ? no warranty from HP since I update the RAM to 2GB.
thanks
Post a Comment